卢浮宫博物馆

Published on:

逛展的一天,非常有意义。

卢浮宫展出内容非常丰富,从史前文明到现代文明,时间跨度非常广。

非常值得花几个小时看一看。

意料之外的跑步计划

Published on:

今天本来计划要游泳的,但是早上临出门时却找不到门禁卡,没有门禁卡就不能去游泳,所以只能遗憾的改变运动计划。

这次出国幸好还带了跑步的裤子和鞋子,于是换了衣服装备就出门跑步了。

距离上次跑步已经超过两个月了,今年总的跑步次数相信10个手指头数的过来,所以今天的跑量定在了5公里,先让身体适应一下。

跑到4公里的时候已经口渴到不行了,所以只能停止跑步走回来,一路在想自己真是个勇士,这么热的天,没有做防嗮,也有没有带水就出门了,手臂眼见的逐渐变红了。

晚上突发奇想,迪拜应该有马拉松比赛吧?如果能坚持跑几个月,练到以前的巅峰状态,说不定可以在迪拜跑个马,于是就上网查了迪拜马拉松

迪拜下一次马拉松在2024年的1月7日星期日,大约还有5个月的时间,报名费150美金,现在就可以开始注册报名了。

考虑到今天才刚开始恢复跑步,所以就暂时没报名,计划先练两个月,看看练得结果如何在做打算,只要在12月10日前都可以注册报名。
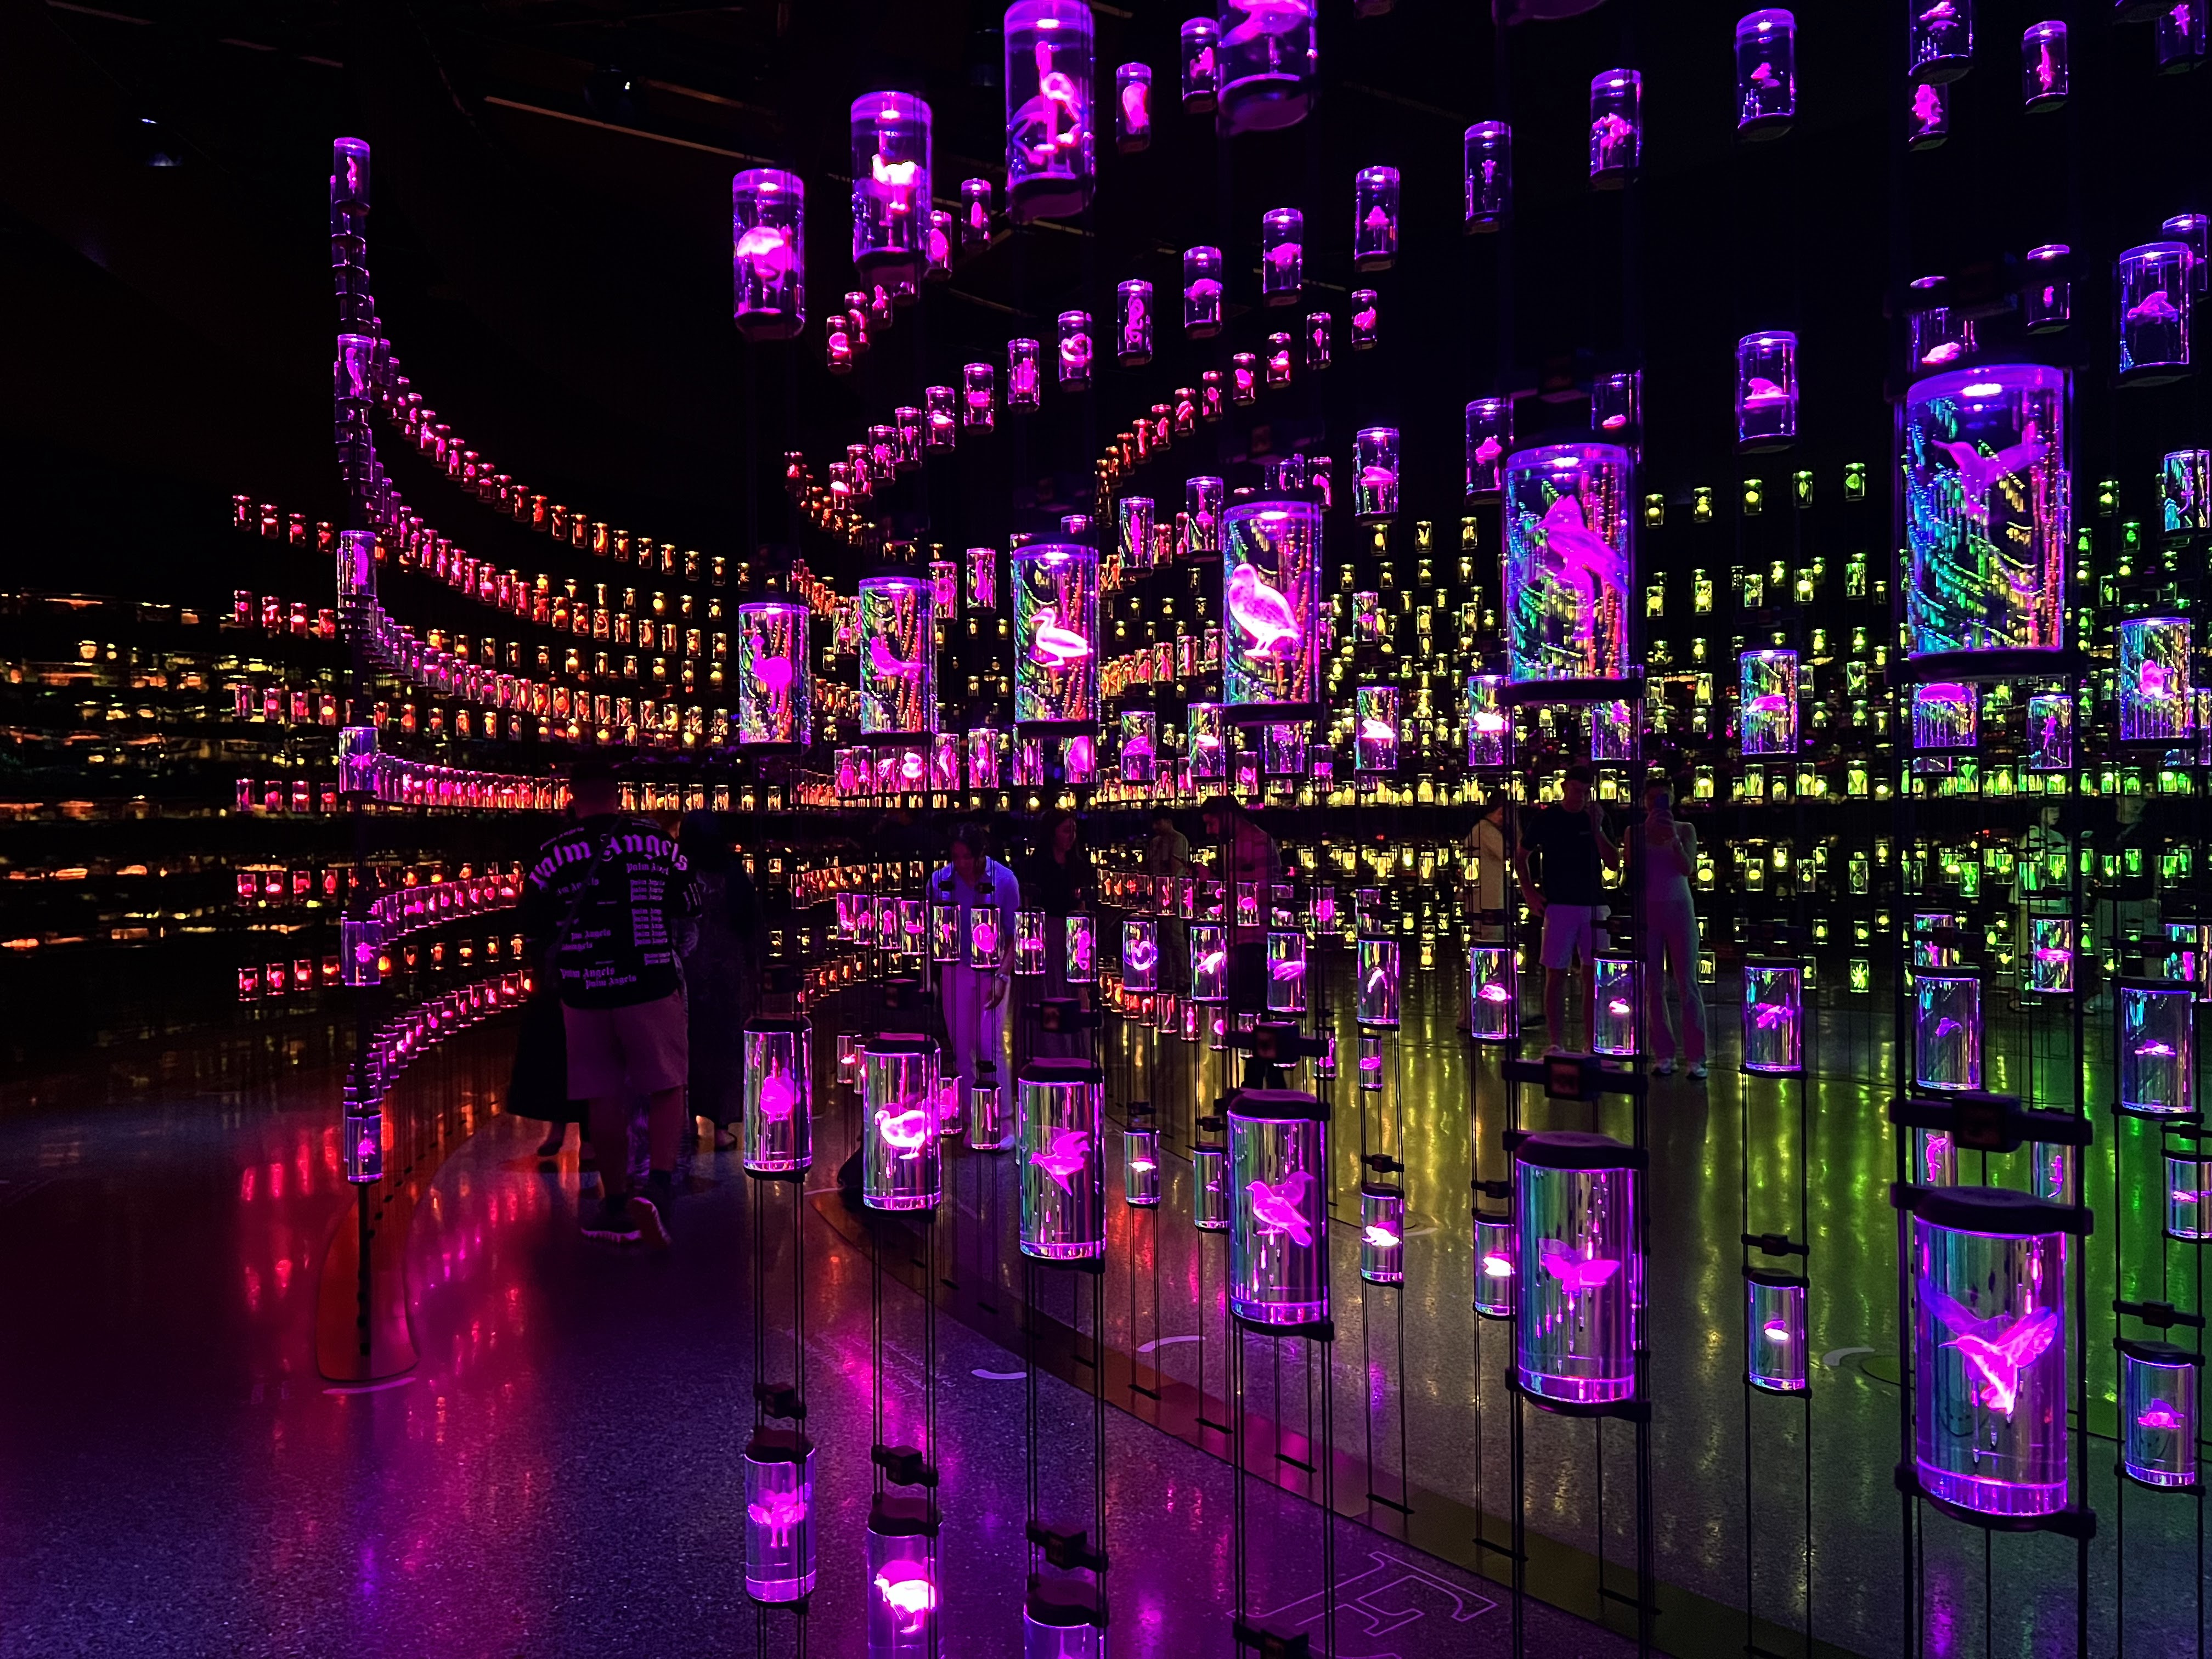
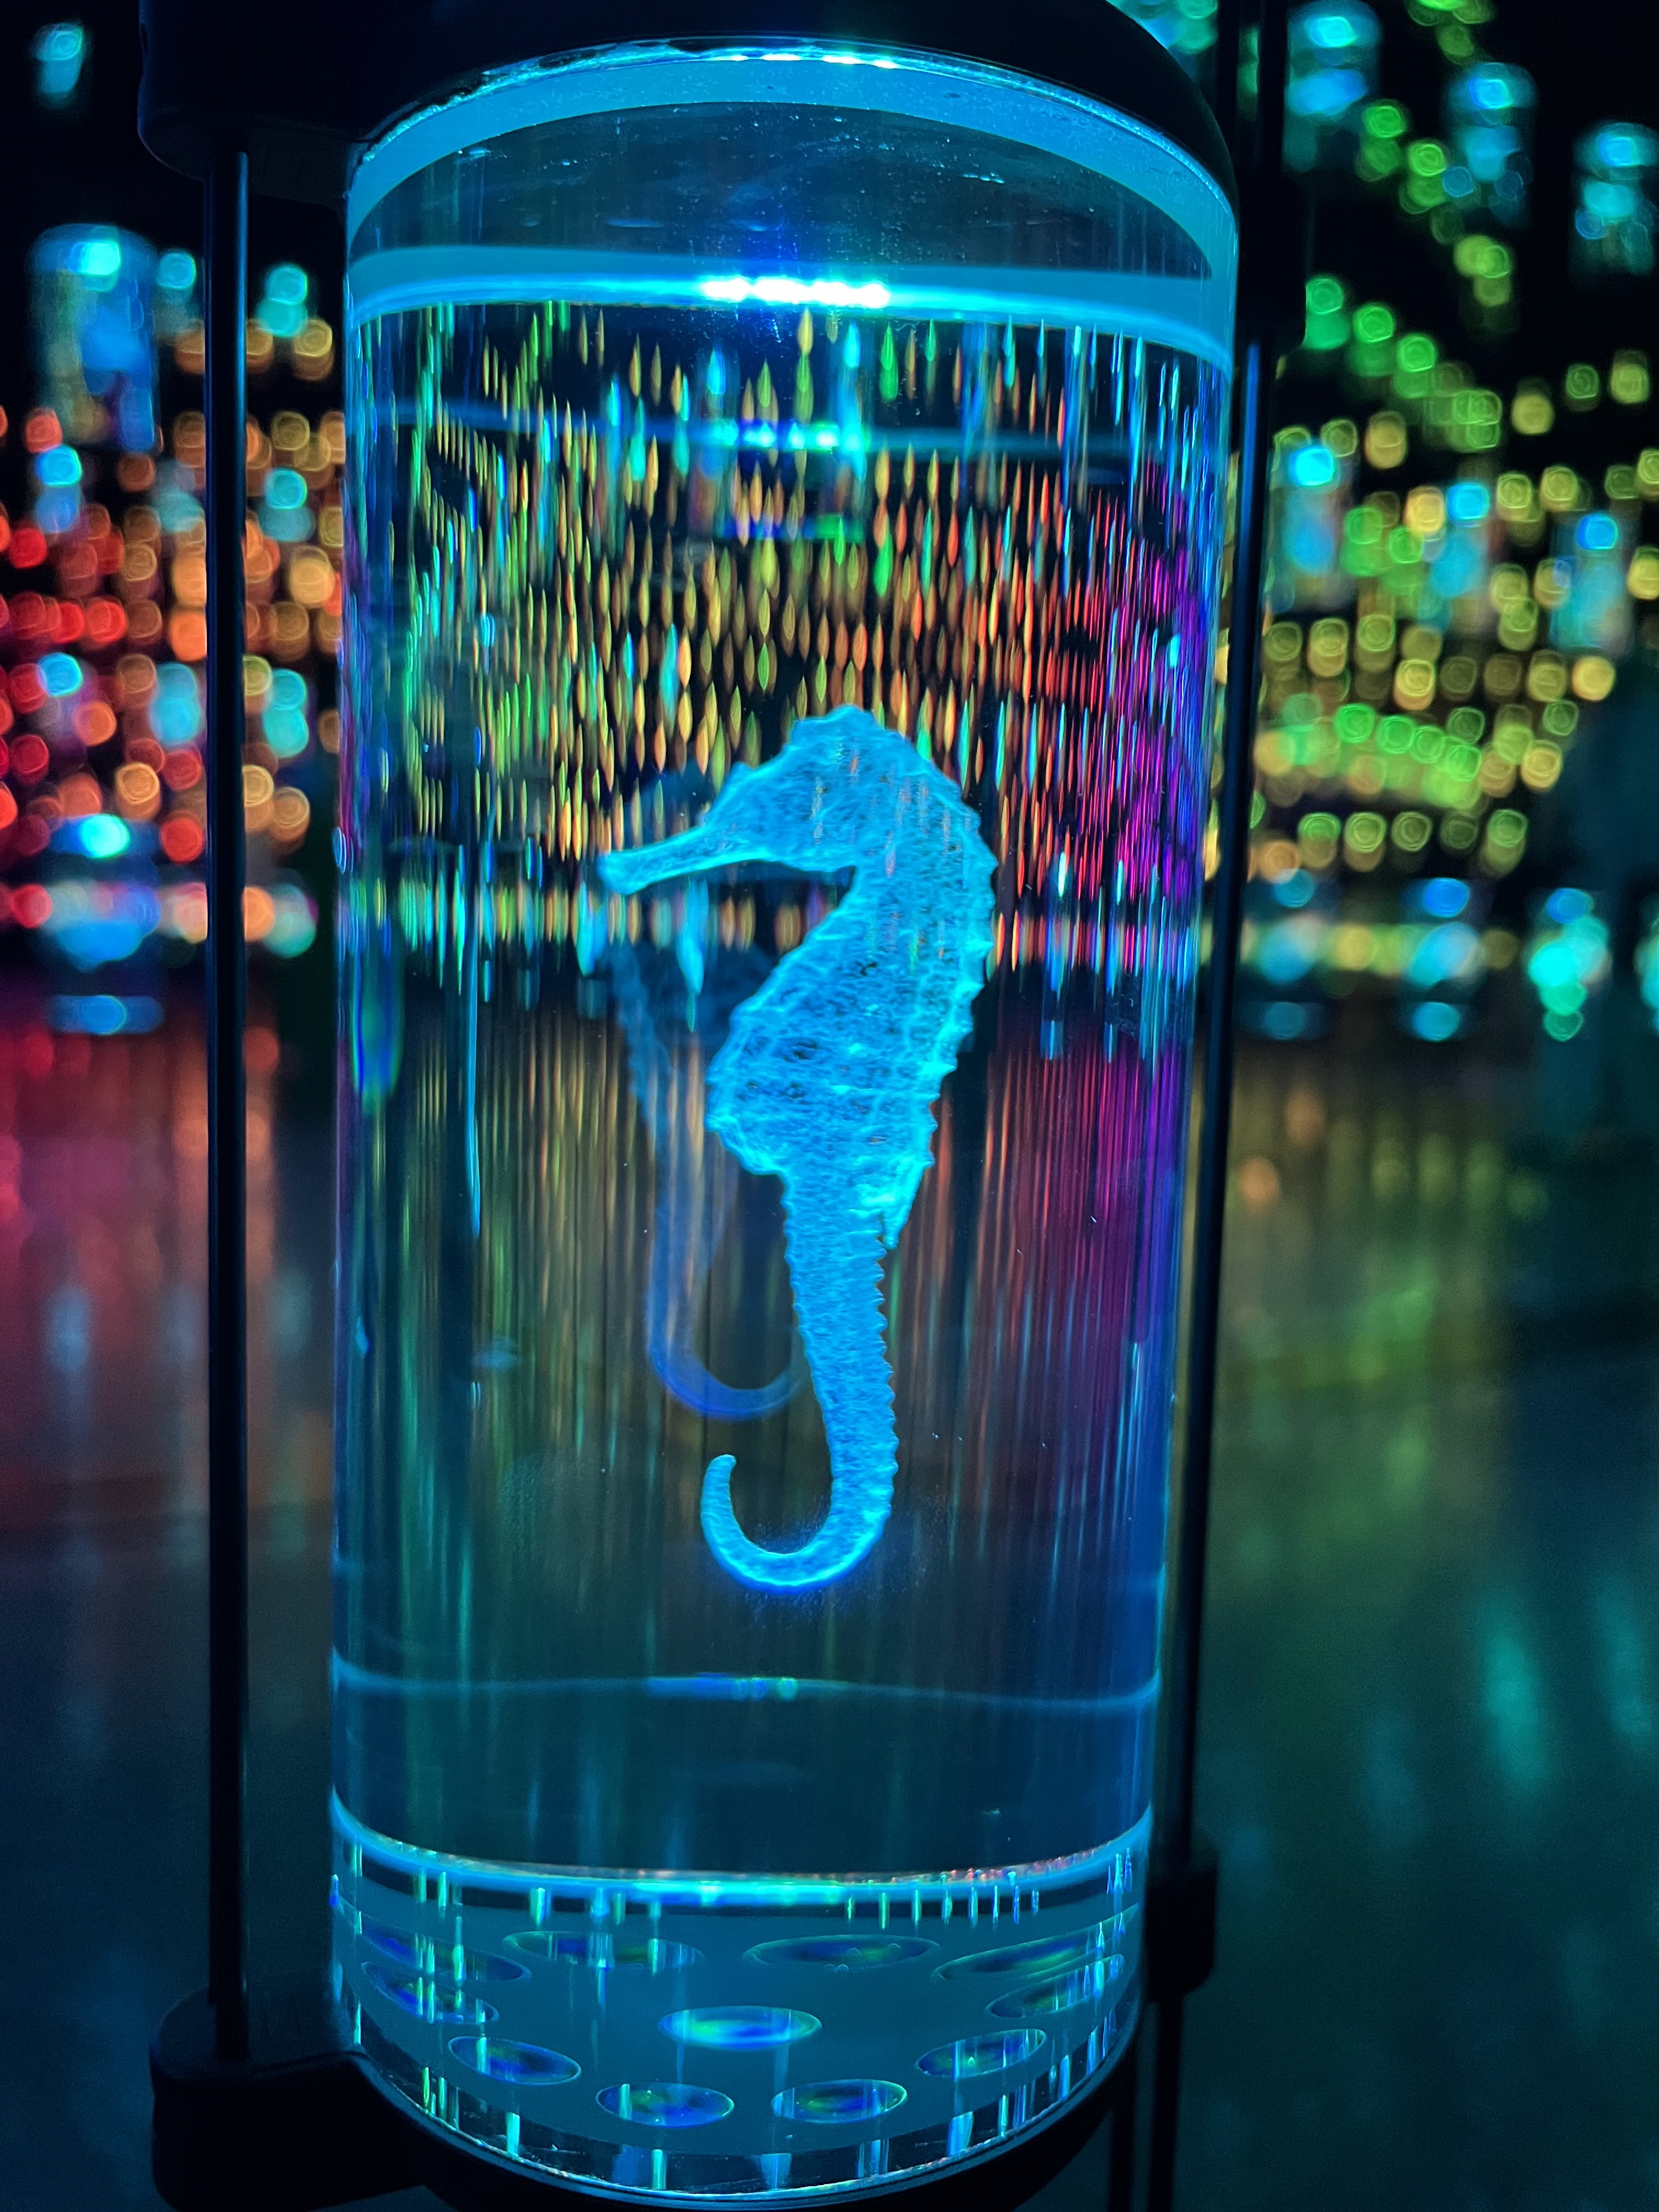
未来博物馆一日游

Published on:

到迪拜的第二天

午饭后,确定了今天要去的地方——未来博物馆

于是开始在淘宝订票,然后就出发了

入口大厅
螺旋的楼梯
动物DNA库1
动物DNA库2
动物DNA库3
海马

许愿墙

未来的单车

等待

Published on:

终于做出了决定,要去旅游了

但是老板不批假期,只能继续搬砖

等下个月

重复

Published on:

每天在同样的时间出门
到达同一个站台
搭上8:32的地铁
在下一站,一个化着精致妆容的老妇人会上车
每个人都在看手机,听音乐,沉浸在自己的世界里

每天在同样的时间拐弯
走这条必经之路
顺便买一份早餐
回过头看,那个撑着伞的熟悉的陌生人又出现了
每个人都在赶路,匆匆的,为了美好的生活奋斗

golang使用sftp上传和下载文件例子

Published on:
Tags: golang sftp ssh

最近在做一个功能给客户端发包。

客户端上传包到后台,选择发布的环境后,进行发布,实现版本热更。

连接的参数#

发包功能关键的一部分是发布到不同的环境服务器, OpsEnv 结构体定义了环境服务器的信息,
其中 Addr,Port,Passport,Password,PubKey,AuthType 六个字段和发包相关。

model.go
1
2
3
4
5
6
7
8
9
10
11
12
13
14
15
16
package sftp

// OpsEnv 环境
type OpsEnv struct {
Id int `orm:"id,primary" json:"id"` // id
EnvName string `orm:"env_name" json:"envName"` // 环境名称
EnvType int `orm:"env_type" json:"envType"` // 环境类型
Addr string `orm:"addr" json:"addr"` // 发送地址
Port string `orm:"port" json:"port"` // 登录端口
Passport string `orm:"passport" json:"passport"` //登录名
Password string `orm:"password" json:"password"` //登录密码
PubKey string `orm:"pub_key" json:"pubKey"` //私钥路径
AuthType int `orm:"auth_type" json:"authType"` //认证类型 1公钥 2密码
Path string `orm:"path" json:"path"` // 发送路径
Domain string `orm:"domain" json:"domain"` // 访问域名
}

获得连接#

SFTP是用SSH封装过的FTP协议,相当于经过加密的FTP协议,功能与FTP一样,只是传输数据经过加密。

所以首先需要获得ssh连接。

newSshClient 方法提供了两种连接方式——密码和密钥。

getSftpClient 方法在获得ssh连接的基础上,获得sftp连接。

ssh.go
1
2
3
4
5
6
7
8
9
10
11
12
13
14
15
16
17
18
19
20
21
22
23
24
25
26
27
28
29
30
31
32
33
34
35
36
37
38
39
40
41
42
43
44
45
46
47
48
49
50
51
52
53
54
55
56
57
58
59
60
61
62
63
64
65
66
67
68
69
70
71
72
73
74
75
76
77
78
79
package sftp

import (
"fmt"
"github.com/mitchellh/go-homedir"
"github.com/pkg/sftp"
"golang.org/x/crypto/ssh"
"log"
"os"
"time"
)

// getSshClient 获取ssh连接
func getSshClient() (*ssh.Client, error) {
env := &OpsEnv{
Passport: "zhagnSan",
Password: "123456",
//PubKey: "/root/.ssh/id_rsa",
Addr: "192.168.99.106",
Port: "22",
AuthType: 2,
}
conn, err := newSshClient(env)
if err != nil {
return nil, err
}
return conn, nil
}

// 最大32m
const maxPacket = 1 << 15

// getSftpClient 获取sftp连接
func getSftpClient() (*sftp.Client, error) {
conn, err := getSshClient()
if err != nil {
return nil, err
}
return sftp.NewClient(conn, sftp.MaxPacket(maxPacket))
}

// newSshClient 连接ssh
func newSshClient(h *OpsEnv) (*ssh.Client, error) {
config := &ssh.ClientConfig{
Timeout: time.Second * 5,
User: h.Passport,
HostKeyCallback: ssh.InsecureIgnoreHostKey(), //这个可以, 但是不够安全
}
//认证方式包括密码和私钥文件两种
if h.AuthType == 2 {
config.Auth = []ssh.AuthMethod{ssh.Password(h.Password)}
} else {
config.Auth = []ssh.AuthMethod{publicKeyAuthFunc(h.PubKey)}
}
addr := fmt.Sprintf("%s:%s", h.Addr, h.Port)
c, err := ssh.Dial("tcp", addr, config)
if err != nil {
return nil, err
}
return c, nil
}

// publicKeyAuthFunc 读取&&解析私钥
func publicKeyAuthFunc(kPath string) ssh.AuthMethod {
keyPath, err := homedir.Expand(kPath)
if err != nil {
log.Fatal("find key's home dir failed", err)
}
key, err := os.ReadFile(keyPath)
if err != nil {
log.Fatal("ssh key file read failed", err)
}
// CreateUserOfRole the Signer for this private key.
signer, err := ssh.ParsePrivateKey(key)
if err != nil {
log.Fatal("ssh key signer failed", err)
}
return ssh.PublicKeys(signer)
}

取得sftp连接后,接下来就能使用该sftp连接执行文件上传和下载的操作。

上传文件#

Upload 方法提供上传文件功能,上传文件分几步实现:

  • 打开本地文件,读取内容
  • 创建远程目录
  • 创建或者清空远程文件
  • 修改远程文件的权限
  • 复制本地文件内容到远程文件

下载文件#

下载文件与上传文件的操作类似,唯一的区别是把远程文件的内容写到本地文件。

sftp.go
1
2
3
4
5
6
7
8
9
10
11
12
13
14
15
16
17
18
19
20
21
22
23
24
25
26
27
28
29
30
31
32
33
34
35
36
37
38
39
40
41
42
43
44
45
46
47
48
49
50
51
52
53
54
55
56
57
58
59
60
61
62
63
64
65
66
67
68
69
70
71
72
73
74
75
76
77
package sftp

import (
"fmt"
"io"
"os"
"path/filepath"
)

// Upload 上传文件
func Upload(localPath, remotePath string) error {
client, err := getSftpClient()
defer client.Close()
if err != nil {
return err
}
localFile, err := os.Open(localPath)
if err != nil {
return fmt.Errorf("BrowserOpen local file failed %s", err)
}
defer localFile.Close()
//文件路径
remoteFilePath := filepath.ToSlash(filepath.Dir(remotePath))
//检查目录,必要时创建目录
err = client.MkdirAll(remoteFilePath)
if err != nil {
return fmt.Errorf("scp mkdir all failed %s", err)
}
//创建或着清空文件
remoteFile, err := client.Create(remotePath)
if err != nil {
return fmt.Errorf("create remote file failed %s:%s", remotePath, err)
}
defer remoteFile.Close()
//修改执行权限
info, err := os.Lstat(localPath)
if err != nil {
return err
}
err = client.Chmod(remoteFile.Name(), info.Mode())
if err != nil {
return fmt.Errorf("scp chmod failed %s", err)
}
//写入内容,存在则覆盖
_, err = io.Copy(remoteFile, localFile)
if err != nil {
return fmt.Errorf("io copy failed %s", err)
}
return nil
}

// Download 下载文件
func Download(localPath, remotePath string) error {
client, err := getSftpClient()
defer client.Close()
if err != nil {
return err
}
remoteFile, err := client.Open(remotePath)
if err != nil {
return fmt.Errorf("open remote file failed %s", err)
}
defer remoteFile.Close()

localFile, err := os.Create(localPath)
if err != nil {
return fmt.Errorf("create local file failed %s", err)
}
defer localFile.Close()

//写入内容,存在则覆盖
_, err = io.Copy(localFile, remoteFile)
if err != nil {
return fmt.Errorf("io copy failed %s", err)
}
return nil
}

远程执行命令#

文件经过打包压缩,才上传到远程服务器上,因此还需要对远程文件进行解压缩。

Unzip 方法接收一个解压缩的命令参数,然后调用 runCommand 方法远程执行命令,最后返回命令的执行结果。

unzip.go
1
2
3
4
5
6
7
8
9
10
11
12
13
14
15
16
17
18
19
20
21
22
23
24
25
26
27
28
29
30
31
32
33
34
35
36
37
38
39
40
41
package sftp

import (
"bytes"
"fmt"
"golang.org/x/crypto/ssh"
)

// Unzip unzip解压缩
func Unzip(command string) error {
conn, err := getSshClient()
if err != nil {
return err
}
defer conn.Close()
res, err := runCommand(conn, command)
if err != nil {
return err
}
fmt.Println("res", res)
return nil
}

// runCommand 远程执行命令
func runCommand(client *ssh.Client, command string) (stdout string, err error) {
session, err := client.NewSession()
if err != nil {
return
}
defer session.Close()
var buf bytes.Buffer
session.Stdout = &buf
session.Stderr = &buf
err = session.Run(command)
if err != nil {
err = fmt.Errorf("%s", string(buf.Bytes()))
return
}
stdout = string(buf.Bytes())
return
}

调用&&测试#

main.go
1
2
3
4
5
6
7
8
9
10
11
12
13
14
15
16
17
18
19
20
21
22
23
24
25
26
27
28
29
30
31
32
33
34
35
36
37
38
39
40
package main

import (
"fmt"
"gfast/example/ssh/sftp"
"github.com/gogf/gf/frame/g"
)

var (
localPath = "./test/hall.zip"
remotePath = "/home/zhagnSan/oooo/hall/hall.zip"
)

func main() {
Upload()
//Download()
//Unzip()
}

func Upload() {
err := sftp.Upload(localPath, remotePath)
if err != nil {
g.Log().Info(err.Error())
}
}

func Download() {
err := sftp.Download(localPath, remotePath)
if err != nil {
g.Log().Info(err.Error())
}
}

func Unzip() {
command := fmt.Sprintf("%s %s %s", "unzip -o", remotePath, "-d /home/zhagnSan/oooo/hall")
err := sftp.Unzip(command)
if err != nil {
g.Log().Info(err.Error())
}
}

[译文]如何用JavaScript克隆一个对象

Published on:
Tags: JavaScript


JavaScript对象是键值对的集合。它是一种可以包含各种数据类型的非原生的数据类型。

1
2
3
4
5
const userDetails = {
name: "John Doe",
age: 14,
verified: false
};

在 JavaScript 中使用对象时,有时你可能想要更改值或向对象添加新属性。

在某些情况下,在更新或添加新属性之前,你会希望创建一个新对象并复制或克隆原始对象的值。

例如,如果你想复制 userDetails 对象的值,然后修改 name 属性的值。此时,你会使用赋值 (=) 运算符。

1
2
const newUser = userDetails;
console.log(newUser); // {name: 'John Doe', age: 14, verified: false}

一切看起来都正常,但是当我们修改一下新对象,看看会发生什么?

1
2
3
4
5
const newUser = userDetails;
newUser.name = "Jane Doe";

console.log(newUser); // {name: 'Jane Doe', age: 14, verified: false}
console.log(userDetails); // {name: 'Jane Doe', age: 14, verified: false}

结果就是原始对象 userDetails 的值也受到了影响,因为对象是引用类型。
这意味着存储在新对象或原始对象中的任何值都指向同一个对象。

这不是你想要的。你希望将一个对象的值存储在一个新对象中,并在不影响原始对象的情况下操作新对象中的值。

在本文中,你将学习三种可用于执行此操作的方法。你还将了解深克隆和浅克隆的含义以及它们的工作原理。

如果你赶时间,以下有三种方法和它们的例子。

1
2
3
4
5
6
7
8
9
// Spread Method
let clone = { ...userDetails }

// Object.assign() Method
let clone = Object.assign({}, userDetails)

// JSON.parse() Method
let clone = JSON.parse(JSON.stringify(userDetails))

如果你不赶时间,让我们开始吧。

如何使用扩展运算符在 JavaScript 中克隆对象#

扩展运算符是在 ES6 中引入的,可以将值扩展到三个点前面的对象中。

1
2
3
4
5
6
7
8
9
10
11
// Declaring Object
const userDetails = {
name: "John Doe",
age: 14,
verified: false
};

// Cloning the Object with Spread Operator
let cloneUser = { ...userDetails };

console.log(cloneUser); // {name: 'John Doe', age: 14, verified: false}

这不再被引用,这意味着更改新对象的值不会影响原始对象。

1
2
3
4
5
6
7
8
9
// Cloning the Object with Spread Operator
let cloneUser = { ...userDetails };

// changing the value of cloneUser
cloneUser.name = "Jane Doe"

console.log(cloneUser.name); // 'Jane Doe'
console.log(cloneUser); // {name: 'Jane Doe', age: 14, verified: false}
console.log(userDetails); // {name: 'John Doe', age: 14, verified: false}

当你检查原始对象的 name 属性或整个对象中的值时,你会注意到它没有受到影响。

注意:当遇到深对象时,扩展运算符只能对对象进行浅拷贝,当你读完本文你就会明白了。

如何使用 Object.assign() 在 JavaScript 中克隆对象#

扩展运算符的替代方法是 Object.assign() 方法。你可以使用此方法将值和属性从一个或多个源对象复制到目标对象。

1
2
3
4
5
6
7
8
9
10
11
// Declaring Object
const userDetails = {
name: "John Doe",
age: 14,
verified: false
};

// Cloning the Object with Object.assign() Method
let cloneUser = Object.assign({}, userDetails);

console.log(cloneUser); // {name: 'John Doe', age: 14, verified: false}

这不再被引用,这意味着更改新对象的值不会影响原始对象。

1
2
3
4
5
6
7
8
9
// Cloning the Object with Object.assign() Method
let cloneUser = Object.assign({}, userDetails);

// changing the value of cloneUser
cloneUser.name = "Jane Doe"

console.log(cloneUser.name); // 'Jane Doe'
console.log(cloneUser); // {name: 'Jane Doe', age: 14, verified: false}
console.log(userDetails); // {name: 'John Doe', age: 14, verified: false}

当你检查原始对象的 name 属性或整个对象中的值时,你会注意到它没有受到影响。

注意:当遇到深对象时,Object.assign() 方法只能对对象进行浅拷贝,当你读完本文你就会明白了。

如何使用 JSON.parse() 在 JavaScript 中克隆对象#

最后一个方法是 JSON.parse()。你将结合JSON.stringify() 一起使用。
你可以使用它来深度克隆,但它有一些缺点。
首先,让我们看看它是如何工作的。

1
2
3
4
5
6
7
8
9
10
11
// Declaring Object
const userDetails = {
name: "John Doe",
age: 14,
verified: false
};

// Cloning the Object with JSON.parse() Method
let cloneUser = JSON.parse(JSON.stringify(userDetails));

console.log(cloneUser); // {name: 'John Doe', age: 14, verified: false}

就像前面的方法一样,新的对象不再引用它。这意味着你可以在不影响原始对象的情况下更改新对象中的值。

1
2
3
4
5
6
7
8
9
// Cloning the Object with JSON.parse() Method
let cloneUser = JSON.parse(JSON.stringify(userDetails));

// changing the value of cloneUser
cloneUser.name = "Jane Doe"

console.log(cloneUser.name); // 'Jane Doe'
console.log(cloneUser); // {name: 'Jane Doe', age: 14, verified: false}
console.log(userDetails); // {name: 'John Doe', age: 14, verified: false}

当你检查原始对象的 name 属性或整个对象中的值时,你会注意到它没有受到影响。

注意:此方法可用于深度克隆,但不是最佳选择,因为它不适用于function或symbol属性。

现在让我们探讨浅克隆和深度克隆,以及如何使用该JSON.parse()方法执行深度克隆。你还将了解为什么它不是最佳的选择。

浅克隆与深克隆#

到目前为止,本文使用的示例是一个只有一层的基础对象。
这意味着我们只执行了浅克隆。
但是当一个对象有多于一层时,你就需要进行深度克隆。

1
2
3
4
5
6
7
8
9
10
11
12
13
14
15
// Shallow object 浅对象
const userDetails = {
name: "John Doe",
age: 14,
verified: false
};

// Deep object 深对象
const userDetails = {
name: "John Doe",
age: 14,
status: {
verified: false,
}
};

注意,深对象不止一层,因为 userDetails 对象中还有另外一个对象。
一个深对象可以有任意多的层次。

注意:当你使用扩展操作符或Object.assign()方法克隆一个深对象时,更深的对象将引用。

1
2
3
4
5
6
7
8
9
10
11
12
13
14
15
16
const userDetails = {
name: "John Doe",
age: 14,
status: {
verified: false
}
};

// Cloning the Object with Spread Operator
let cloneUser = { ...userDetails };

// Changing the value of cloneUser
cloneUser.status.verified = true;

console.log(cloneUser); // {name: 'John Doe', age: 14, status: {verified: true}}
console.log(userDetails); // {name: 'John Doe', age: 14, status: {verified: true}}

你会注意到原始对象和新对象都会受到影响,因为当你使用扩展运算符或Object.assign()方法克隆深对象时,将引用更深的对象。

你怎么解决这个问题#

你可以使用JSON.parse()方法,一切都会正常进行。

1
2
3
4
5
6
7
8
9
10
11
12
13
14
15
16
const userDetails = {
name: "John Doe",
age: 14,
status: {
verified: false
}
};

// Cloning the Object with Spread Operator
let cloneUser = JSON.parse(JSON.stringify(userDetails));

// Changing the value of cloneUser
cloneUser.status.verified = true;

console.log(cloneUser); // {name: 'John Doe', age: 14, status: {verified: true}}
console.log(userDetails); // {name: 'John Doe', age: 14, status: {verified: false}}

但是这种方法有一个问题 —— 就是你可能会丢失数据。

正如以上的例子显示的那样,JSON.stringify()与数字、字符串或布尔值等原生的数据类型配合得很好。
相对应的,当遇到非原生的数据类型时,JSON.stringify()方法出现意想不到的结果。

例如,当属性的值为:Nan、Infinityto、null、undefined、Symbol、object等类型是,JSON.stringify()方法会返回一个空的键值对并跳过它。

1
2
3
4
5
6
7
8
9
10
11
12
const userDetails = {
name: "John Doe",
age: 14,
status: {
verified: false,
method: Symbol(),
title: undefined
}
};

// Cloning the Object with Spread Operator
let cloneUser = JSON.parse(JSON.stringify(userDetails));

JSON.stringify() 将不会返回值为 Symbol 和 undefined 的键值对。

1
2
3
4
5
6
7
8
9
10
console.log(cloneUser); 

// Output
{
name: "John Doe",
age: 14,
status: {
verified: false
}
};

这意味着你需要小心。实施深克隆的最佳选择是使用 Lodash
这样你就可以确定你的任何数据都不会丢失。

1
2
3
4
5
6
7
8
9
10
11
const userDetails = {
name: "John Doe",
age: 14,
status: {
verified: false,
method: Symbol(),
title: undefined
}
};

console.log(_.cloneDeep(userDetails));

总结#

本文介绍了如何使用三种主要方法在 JavaScript 中克隆对象。
你已经了解了这些方法的工作原理,以及何时使用每种方法。
你还了解了深度克隆。

你可以阅读本文以了解为什么JSON.parse(JSON.stringify())在 JavaScript 中克隆对象是一种不好的做法。

原文 JS Copy an Object – How to Clone an Obj in JavaScript

使用elementUI的 el-upload 组件,封装一个上传图片的组件

Published on:
Tags: VUE

上传图片一个非常常用的功能,使用 elementUI 的 el-upload 组件,可以方便的实现上传图片文件等,用法参照例子 用户头像上传

如例子所示,每次使用该组件,都要写如下代码:

  • 引用组件 el-upload
  • 写回调函数 handleAvatarSuccess,beforeAvatarUpload
  • 写CSS样式代码

demo.vue

1
2
3
4
5
6
7
8
9
10
11
12
13
14
15
16
17
18
19
20
21
22
23
24
25
26
27
28
29
30
31
32
33
34
35
36
37
38
39
40
41
42
43
44
45
46
47
48
49
50
51
52
53
54
55
56
57
58
59
60
61
62
<el-upload
class="avatar-uploader"
action="https://jsonplaceholder.typicode.com/posts/"
:show-file-list="false"
:on-success="handleAvatarSuccess"
:before-upload="beforeAvatarUpload">
<img v-if="imageUrl" :src="imageUrl" class="avatar">
<i v-else class="el-icon-plus avatar-uploader-icon"></i>
</el-upload>

<style>
.avatar-uploader .el-upload {
border: 1px dashed #d9d9d9;
border-radius: 6px;
cursor: pointer;
position: relative;
overflow: hidden;
}
.avatar-uploader .el-upload:hover {
border-color: #409EFF;
}
.avatar-uploader-icon {
font-size: 28px;
color: #8c939d;
width: 178px;
height: 178px;
line-height: 178px;
text-align: center;
}
.avatar {
width: 178px;
height: 178px;
display: block;
}
</style>

<script>
export default {
data() {
return {
imageUrl: ''
};
},
methods: {
handleAvatarSuccess(res, file) {
this.imageUrl = URL.createObjectURL(file.raw);
},
beforeAvatarUpload(file) {
const isJPG = file.type === 'image/jpeg';
const isLt2M = file.size / 1024 / 1024 < 2;

if (!isJPG) {
this.$message.error('上传头像图片只能是 JPG 格式!');
}
if (!isLt2M) {
this.$message.error('上传头像图片大小不能超过 2MB!');
}
return isJPG && isLt2M;
}
}
}
</script>

如果在多个地方都需要用到上传图片的功能,那么就要多次写同样的代码,显然没必要。

稍微封装一下 demo.vue 的代码,使它变成一个独立的组件,通过简单的调用,就可以实现上传图片的功能。

该组件接收一个图片地址参数,当有图片地址的时候,显示图片;
还有一个回调函数,当图片地址发生改变时,可以通知父组件。

upImg.vue

1
2
3
4
5
6
7
8
9
10
11
12
13
14
15
16
17
18
19
20
21
22
23
24
25
26
27
28
29
30
31
32
33
34
35
36
37
38
39
40
41
42
43
44
45
46
47
48
49
50
51
52
53
54
55
56
57
58
59
60
61
62
63
64
65
66
67
68
69
70
71
72
73
74
75
76
77
78
79
80
81
82
83
84
85
86
87
88
89
90
91
92
93
94
95
96
97
98
99
100
101
<template>
<div>
<el-upload
v-loading="upLoading"
class="avatar-uploader"
:action="apiUrl+'/system/upload/upImg'"
:show-file-list="false"
name="file"
:data="setUpData()"
:on-success="handleAvatarSuccess"
:before-upload="beforeAvatarUpload"
>
<img v-if="imgUrl" :src="imgUrl" class="avatar"/>
<i v-else class="el-icon-plus avatar-uploader-icon"></i>
<div class="el-upload__tip" slot="tip">只能上传jpg/png文件,且不超过2MB</div>
</el-upload>
</div>
</template>

<script>
import { getToken } from '@/utils/auth'

export default {
name: 'upImg',
props: ['imageUrl'],// 图片上传地址
data() {
return {
// 上传加载
upLoading: false,
imgUrl: undefined
}
},
watch: {
imageUrl: {
immediate: true,
handler(value) {
this.imgUrl = value
}
}
},
methods: {
handleAvatarSuccess(res, file) {
if (res.code === 0) {
this.imgUrl = URL.createObjectURL(file.raw)
this.$emit('getImgUrl', res.data.fileInfo.fileUrl)
} else {
this.msgError(res.msg)
}
this.upLoading = false
},
beforeAvatarUpload(file) {
const isJPG = (file.type === 'image/jpeg' || file.type === 'image/png')
const isLt2M = file.size / 1024 / 1024 < 2

if (!isJPG) {
this.$message.error('上传头像图片只能是 JPG 或 PNG 格式!')
return false
}
if (!isLt2M) {
this.$message.error('上传头像图片大小不能超过 2MB!')
return false
}
this.upLoading = true
return isJPG && isLt2M
},
setUpData() {
return { token: getToken() }
}
}
}
</script>

<style scoped>
.avatar-uploader .el-upload {
border: 1px dashed #d9d9d9;
border-radius: 6px;
cursor: pointer;
position: relative;
overflow: hidden;
}

.avatar-uploader .el-upload:hover {
border-color: #409eff;
}

.avatar-uploader-icon {
font-size: 28px;
color: #8c939d;
width: 99px;
height: 99px;
line-height: 99px;
text-align: center;
}

.avatar {
width: 99px;
height: 99px;
display: block;
}
</style>

upImg.vue 组件定义 imgUrl 变量作为图片的地址,
当父组件调用 upImg.vue 组件时,传入一个图片地址参数 imageUrl ,
子组件接收并监听该参数,当参数值发生变化时,赋值给 imgUrl 变量。

当成功上传图片后,imgUrl 取得图片地址, 并且触发父组件上的 getImgUrl 事件,抛出图片地址。

父组件只要监听 getImgUrl 事件,即可访问图片地址。

如下代码即是父组件的调用过程。

index.vue

1
2
3
4
5
6
7
8
9
10
11
12
13
14
15
<template>
<up-img v-on:getImgUrl="getImgUrl" :imageUrl="imageUrl"/>
</template>

<script>
import upImg from '@/components/upImg/upImg'
export default {
components: { upImg },
methods: {
getImgUrl(url) {
console.log(url)
},
}
}
</script>

以上,通过对 el-upload 组件的封装,实现上传功能,简化了调用过程。

golang-migrate

Published on:

migrate 是一个用go写的数据库迁移工具,提供CLI和导入库两种方式,支持的数据库有MySQL,PostgreSQL,SQLite,MongoDB等。

使用migrate数据库迁移工具可以在更新的时候避免一些因手动操作导致的意外事故,提高更新流程的集成度。

migrate CLI#

安装#

MacOS或者Windows可以通过软件包下载

MacOS

1
brew install golang-migrate

Windows

1
scoop install migrate

Linux从这里 Release Downloads 下载工具包,解压即可使用。

常用的迁移命令#

创建sql文件#

1
migrate create -ext sql -dir ./sit106/sql -seq create_test_table

create命令会创建两个空sql文件,一个名字带up,表示升级文件,一个名字带down,表示回滚文件,文件名带有顺序的版本号和指定的文件名。
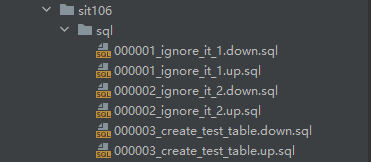
升级 N 个版本#

1
migrate -path ./sit106/sql -database 'mysql://root:123456@tcp(127.0.0.1:3306)/test?query' up [N]
1
2
3
4
5
6
## 第一次执行up命令后,会自动创建 schema_migrations 表,记录迁移版本号和状态。
CREATE TABLE `schema_migrations` (
`version` bigint(20) NOT NULL,
`dirty` tinyint(1) NOT NULL,
PRIMARY KEY (`version`)
) ENGINE=InnoDB DEFAULT CHARSET=utf8;

每一次执行迁移命令,会首先从 schema_migrations 表获取版本号,再从指定目录获取比当前版本号要高的迁移的文件,再执行迁移。

注意: 不加参数 N ,则更新到最新,默认不加。

降级 N 个版本#

1
migrate -path ./sit106/sql -database 'mysql://root:123456@tcp(127.0.0.1:3306)/test?query' down [N]

注意: 不加参数 N ,则回滚到版本0。

忽略第 N 版本的脏状态 dirty state#

1
migrate -path ./sit106/sql -database 'mysql://root:123456@tcp(127.0.0.1:3306)/test?query' force N

当升级或者回滚的sql脚本出现错误,当前版本会被标记为脏状态,无法继续更新或者回滚。
在修正sql脚本的错误后,需要使用次命令,清除脏状态,方可以继续升级或者回滚。

查看当前迁移版本#

1
migrate -path ./sit106/sql -database 'mysql://root:123456@tcp(127.0.0.1:3306)/test?query' version

跳跃到第 N 个版本#

1
migrate -database 'mysql://root:123456@tcp(127.0.0.1:3306)/test?query' goto N

按顺序升级或者回滚到指定版本。

更多用法通过帮助获取#

1
migrate

以上命令的 path 参数的写法
-path ./sit106/sql
是一个简写的方式,原型写法为

1
2
3
4
5
6
7
8
9
10
仅当从文件系统加载配置的时候,可以使用简写方式。

除了支持从file读取,还支持从 github,gitlab,bitbucket 等远程读取,具体访问 [source](https://github.com/golang-migrate/migrate/tree/master/source) 查看。


## migrate library

### 安装
```bash
go get github.com/golang-migrate/migrate

example migration.go#

1
2
3
4
5
6
7
8
9
10
11
12
13
14
15
16
17
18
19
20
21
22
23
24
25
26
27
28
29
30
31
32
33
package migration

import (
"database/sql"
_ "github.com/go-sql-driver/mysql"
"github.com/golang-migrate/migrate"
"github.com/golang-migrate/migrate/database/mysql"
_ "github.com/golang-migrate/migrate/source/file"
"log"
)

func init() {
log.Println("start migrate")
db, _ := sql.Open("mysql", "root:1234@tcp(localhost:3306)/test?multiStatements=true")
driver, err := mysql.WithInstance(db, &mysql.Config{})
if err != nil {
log.Fatal(err)
}
m, err := migrate.NewWithDatabaseInstance(
"file://publish/sit106/sql",
"mysql",
driver,
)
if err != nil {
log.Fatal(err)
}
err = m.Up()
if err != nil {
m.Down(1)
log.Fatal(err)
}
log.Println("end migrate")
}

从以上代码可以看出,当up命令发生错误时,需要执行down命令,但是具体down几个版本,则需要自己控制参数。

扩展建议#

可新增一个字段pre_version,记录上一个版本号。

1
2
3
4
5
6
CREATE TABLE `schema_migrations` (
`version` bigint(20) NOT NULL,
`pre_version` bigint(20) NOT NULL,
`dirty` tinyint(1) NOT NULL,
PRIMARY KEY (`version`)
) ENGINE=InnoDB DEFAULT CHARSET=utf8;

当执行up命令前,记录当前的版本号version,执行up命令后,得到new_version,最后更新schema_migrations表。

1
set pre_version=version,version=new_version

当执行down命令时,首先取pre_version的值,回滚版本后,更新后执行。

1
set version=pre_version

这样至少可以回滚到上一个版本。

需要注意的事#

冲突#

在一个多人开发的项目中,难免会遇到冲突,所以在代码审查的时候要尤其注意。

幂等#

尽量让你的迁移时幂等的——连续两次运行相同的sql语句得到相同的结果,这会让迁移代码更加健壮。例如使用
CREATE TABLE IF NOT EXISTS
代替
CREATE TABLE

事务#

如果一次迁移中有多个命令/查询,最好把它们包在一个事务中,这样,当其中一个命令失败,我们的数据库将保持不变。

使用Google Authenticator 作为双重认证

Published on:
Tags: google

双重认证顾名思义即是在验证用户账号密码后,再进行一次验证码认证,提高登录流程的安全性。

认证流程#

  • 配对生成二维码
  • 使用Google认证器APP扫描二维码,得到动态验证码(动态验证码后面有一个倒计时器,每30秒刷新一次)
  • 输入验证码进行认证

API接入#

请求域名#

https://www.authenticatorapi.com

配对#

  • 描述:获取认证二维码
  • 地址:/pair.aspx
  • 请求方式:GET
  • 请求参数:
参数名 格式 必需 描述
AppName string AppName
AppInfo string AppInfo
SecretCode string SecretCode
  • 响应结果:
    1
    <a title='Manually pair with GEZDGNBVGY3TQQSYLFKA' href='https://www.authenticatorapi.com'><img src='https://chart.googleapis.com/chart?cht=qr&chs=300x300&chl=otpauth%3A%2F%2Ftotp%2FJohn%3Fsecret%3DGEZDGNBVGY3TQQSYLFKA%26issuer%3DMyApp' border=0></a>

提取img标签里src属性的值,保存起来,不用重复请求接口

验证#

  • 描述:使用验证码进行认证
  • 地址:/Validate.aspx
  • 请求方式:GET
  • 请求参数:
参数名 格式 必需 描述
Pin string Pin
SecretCode string SecretCode
  • 响应结果:
    1
    False|True

动态验证码有效期#

经过测试发现:

  • 每30秒刷新一次验证码
  • 每个验证码有效期5分钟
  • 也就是说5分钟内有10个有效验证码

参考#

Google Authenticator